Tuesday 26 November 2019

Thomarillion second converted halfling home, Scouring of the Shire

Following on from my last post, i set about heavily converting a Thomarillion Hermitage resin front. Here is the resin casting as it comes in the post, compared to a Forge World Hobbit Hole front...


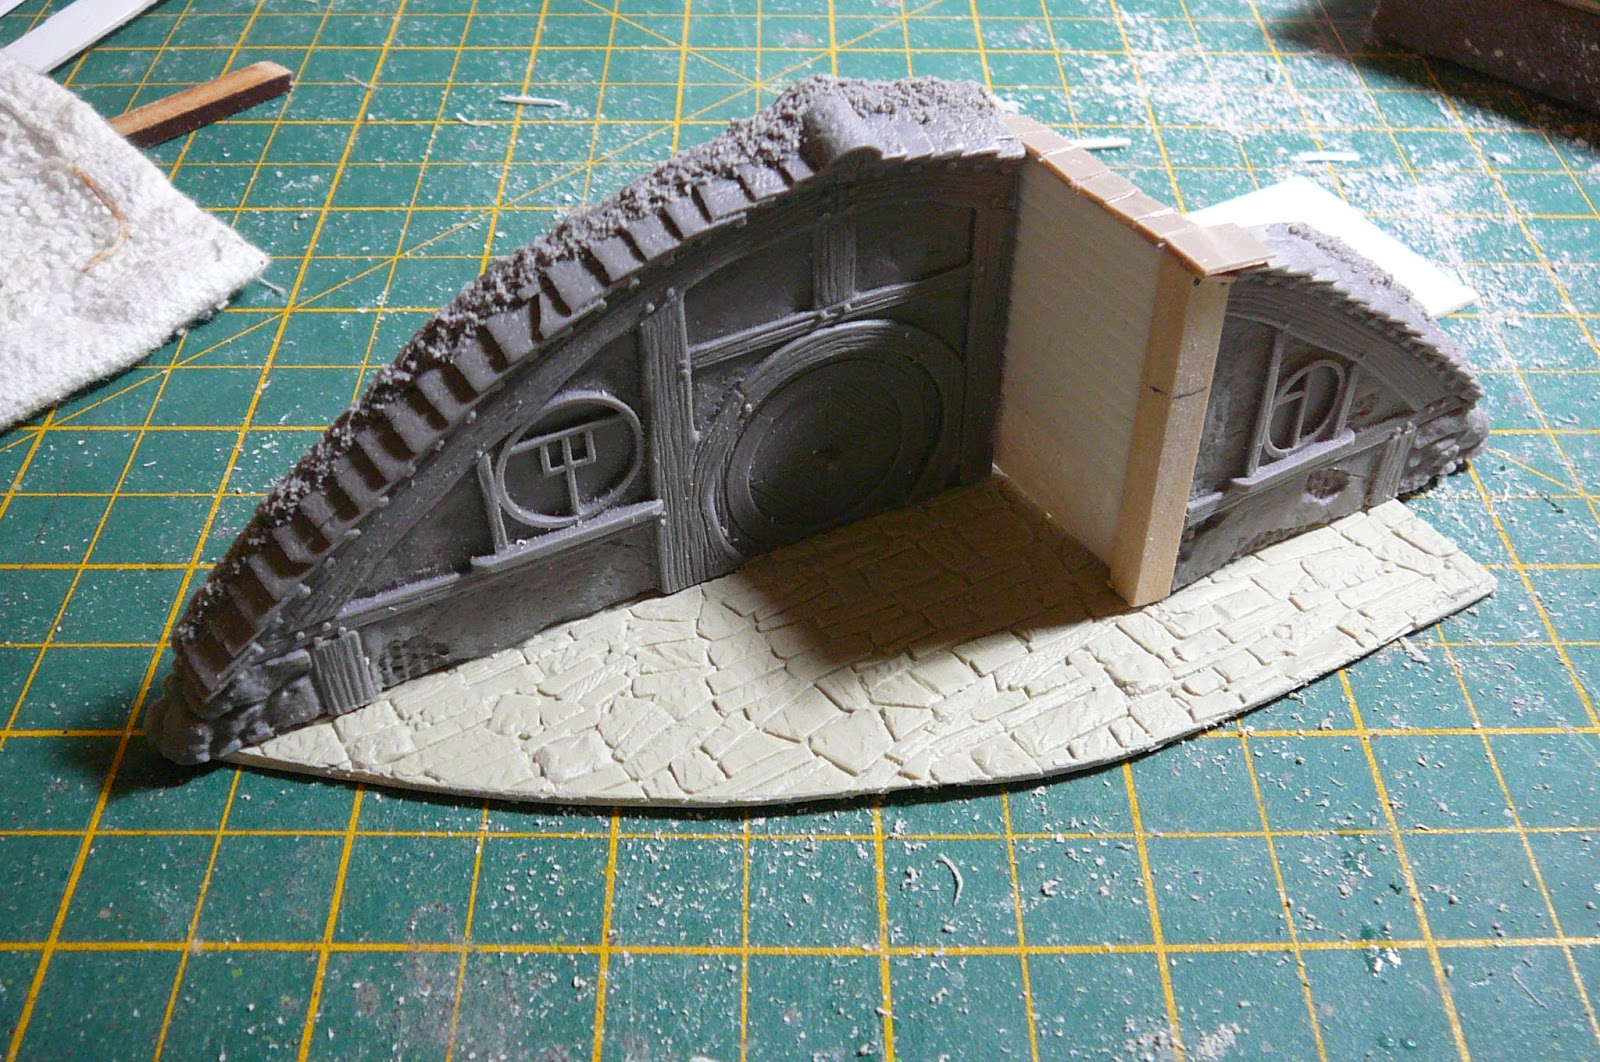
I didn't take a lot of in progress shots on these build, i don't know why, i think i just got carried away with myself. Here is the finished front after a bit of cutting and mating of parts. You can recognise the door section from the original part, and one of the windows I cut out. I used a bit of Wills planking for the curved roof, and some Wills lime wash walling for the left hand wall. The bottom row of bricks also comes from a Will sheet, with a thin strip of balsa to separate the brick and lime wash wall. The left hand roof section i intended on a straight angled roof to give it some variety from all the curves. This section of roof on the left is a bit of Wills feather edge boarding  


Top down view gives an idea of the variety i was trying to achieve. The left hand return wall is again a piece of Wills lime wash walling


Here is the Halfling home ready for painting...


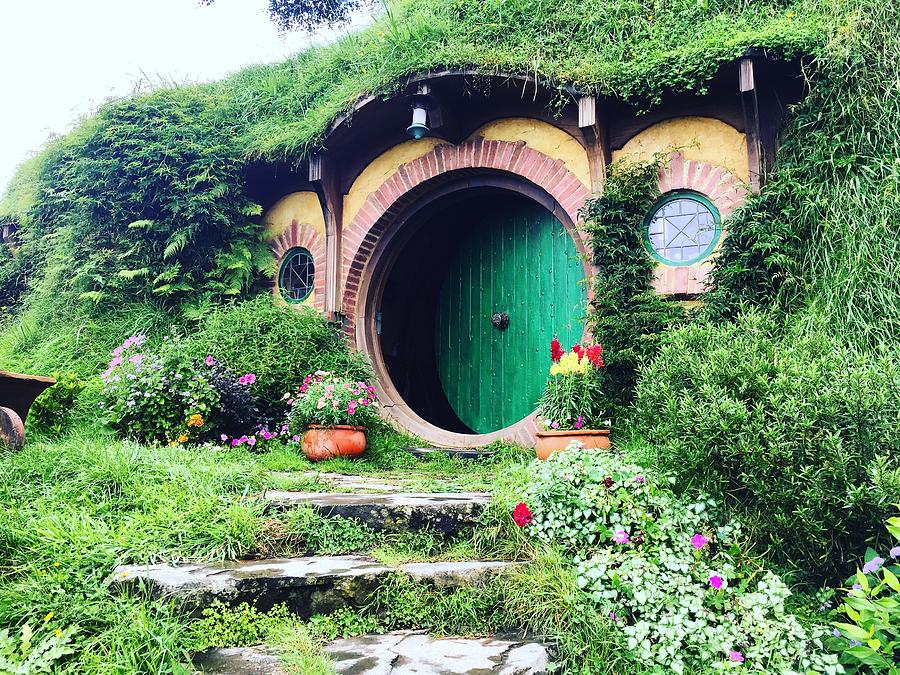
And here is the finished piece...


This will go up in my Ebay shop very soon...


Wednesday 20 November 2019

Thomarillion Hermitage Hillside, Halfling home, Scouring of the Shire

I picked up a couple of the Hermitage resin fronts from Thomarillion and set about making some Halfling homes with them..

Here is the front as it arrives, compared in size etc to the Forge World front. I picked up two of these..


The casting is comparable to Forge World in equal terms of detail, with no major flaws or flashing problems

My plan was to make one of these similar to Bilbo Baggins home, and to heavily convert the second. Here is the picture I used to compare to Bilbo's home..

Image result for bilbo baggins home

The door and windows was a good match to the Thomarillion piece, so it was only a question of adding some wooden beams, some roof pieces and to change the height and shape of the front..


Balsa was used for the wooden beams and some Wills wooden planking used for the roof pieces. The Wills plastic is pliable so getting it to make the curve was reasonable easy. I just heated it up in some hot water and gently set it into the curve needed.


I glued it to another piece of styrene where I'd cut the basic shape. This would give it some strength, and something for the filler to blend in for the wall texture. This would be the first coat of filler with some further blending needed once its had a coat of primer to help show any irregularities..


Here is the front primed ,showing small areas on the front I need to blend in better.


Then with some 3mm MDF, some foam and some slate pieces, i arrived at this, ready for sand, pva, and paint.. 


Here is the piece ready for painting. Construction is as with all the others, with a 3mm MDF base, foam and covered with filler...


Here is the finished piece. As i mentioned earlier, it was not my intention to make a complete copy. Just something that was similar and open fronted to include placement of miniatures if required. I hope you like the pictures  ... 


Thursday 14 November 2019

Model Earth Halfman hole conversions, Halfling Home, Scouring of the Shire

In my previous i set about two standard Halfling homes from the Model Earth halfman hole fronts. In this post you will see me make two more but this time conversions of the original parts.

Here is the parts as they started...


The first build was relatively straight forward, just a strategic cut at one of the vertical beams with the addition of some Wills plastic sheeting to give the desired effect..


I used some different embossed plasticard to simulate varied paving


The second halfling home was a lot more involved. I will show a finished picture first to give you an of what i was trying to achieve, then talk you through the steps as i went...


The first step was to use some Oyrumaru or Blue Stuff to make a mould of the bottom stone section of the front so i could recreate this stonework around the new section of wall. The picture also shows the mould i made for my own style of the windows and chimney i created. I then made two resin casts of the wall section......


With the stonework cut away ready for the extension...


With some Wills lime wash walling on top of the stonework, i then created a left hand turn from the original front, and a new wall for one of my chimneys to sit. A few more casts of my chimney  gave me the height i wanted. I wanted the chimney wall to be angled at roof line so as to give a different feature from all the normal curved roofs which are so prevalent on halfling homes.


The piece that was originally cut off at the left of the door section was then glued back on at an angle to complete the front


Lastly i added some roof shingles on top of the new walls (not pictured)

The rest of the build was straight forward with 3mm MDF for the base, with some foam, and some of my dormer window casts, and a resin vase from Baueda to complete the build....


Here are the finished pictures of both these Halfling Homes...


I hope I have added something to the originals. I may keep the heavily converted one but the other will be in my Ebay shop very soon....