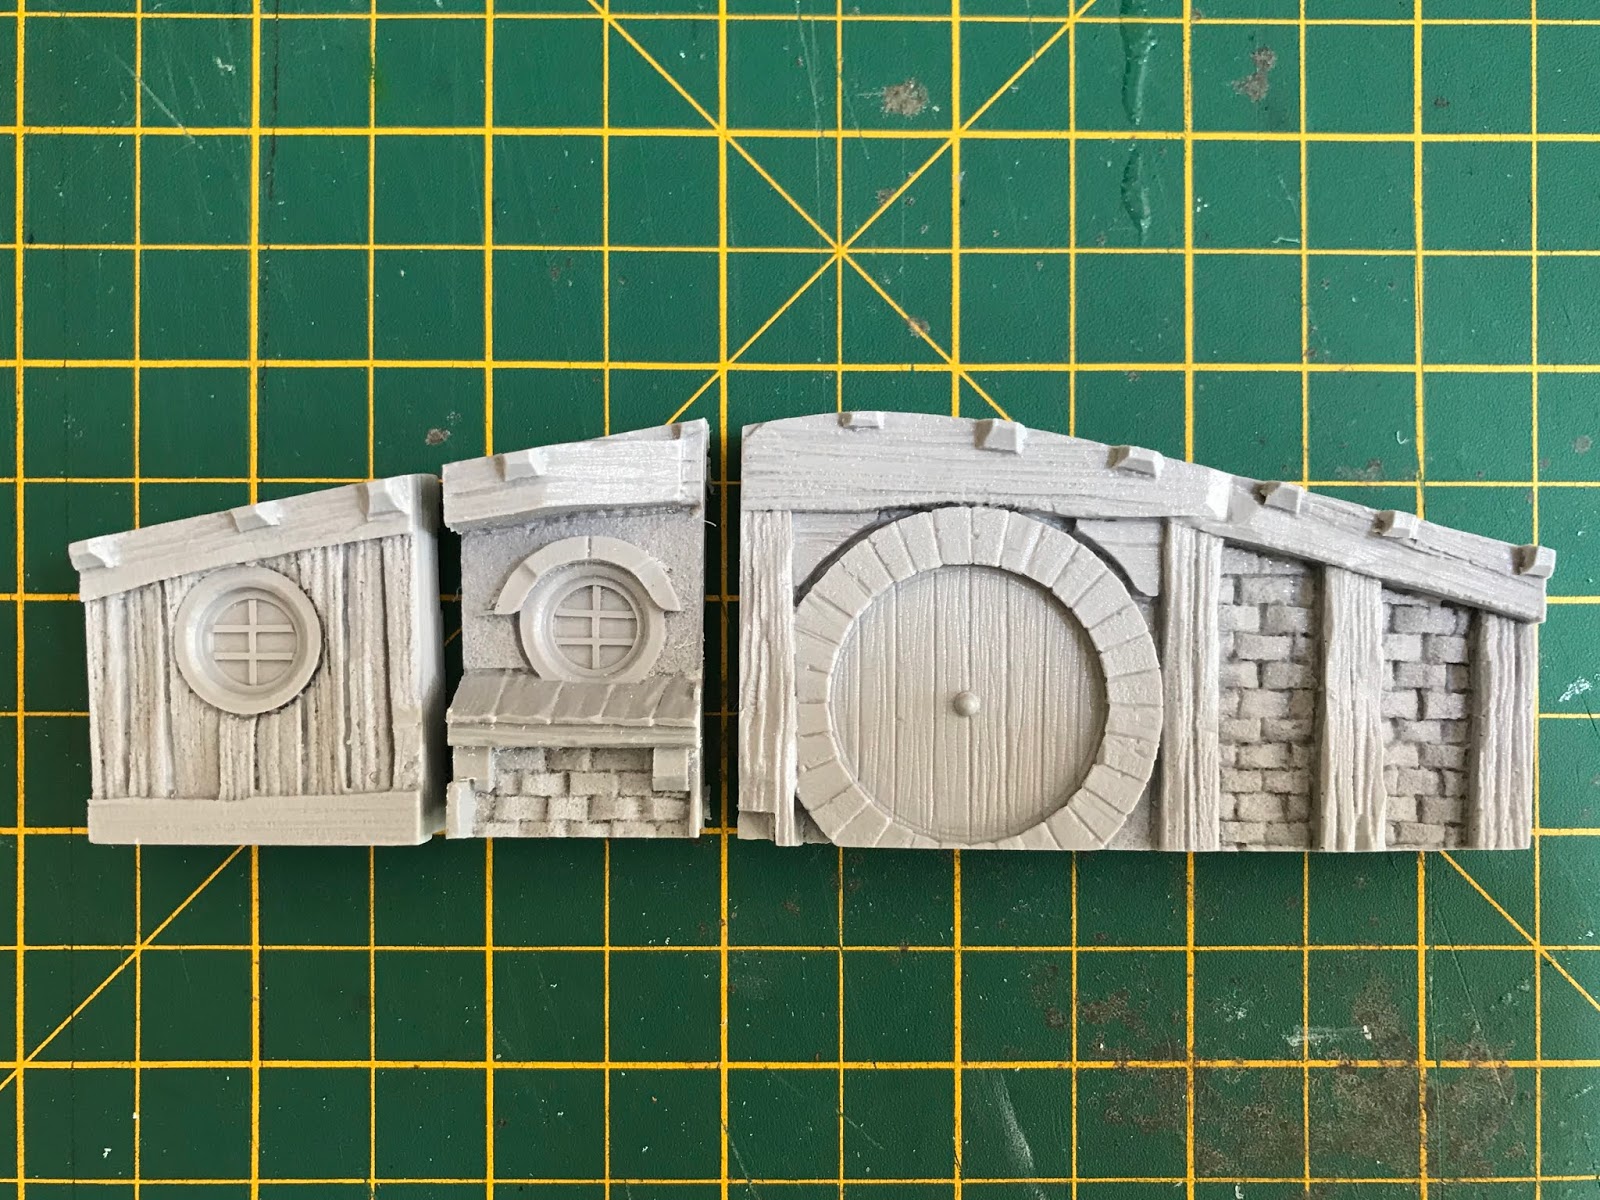
In my previous post i explored the idea of cutting one of the Forge World Hobbit Hole fronts in half to get two fronts. As you can see its pretty thick, I measured approx 10mm, the line is where I proceeded to cut with a razor saw...
It didn't go exactly to plan, on a second attempt it might have gone a bit better, however i knew this was still usable. The razor saw was very thin so i didn't waste too much resin in the saw kerf. The top front finished very thin approx 3mm, and at the window it was only 1mm or so
In this photo you can see the back of the successful front, and the remaining detail of the window that should have been attached to the bottom front
I could have put some plasticard behind the centre window, and then drilled out the left window with some plasticard behind that. However I wanted this build to be unique, so set about changing the front. Looking at pictures on the web of Hobbiton created for the LOTR films, I noticed some of the Hobbit Holes have chimneys at the front or have angled fronts. So from here i decided to make a step in the front to take out the missing window and build in a chimney. The original chimneys and windows i'd used in my other Hobbit Hole build so i set about creating my own.
Using some small pieces of slate and some small bricks I'd made from plaster, i knocked up this chimney. Then thinking ahead in case i wanted to use this in another build, I made three different chimney tops and two smaller pieces to use to build up the height if needed. The mixture of bricks and slate would simulate the ramshackle appearance of some of Hobbit Holes, and also give some versatility when painting.
The round tubes on the chimney top on the left are actually the tubes you get on new paint brushes cut down to suit the height i needed.
Then making a silicone mould and casting in resin I was able to reproduce the chimney, here you can see it with three different tops
And here with the smaller pieces to increase the height..
Then I set about making a dormer window. I'd previously had some A4 sheet of wooden planking made up in green stuff, which i'd reproduced in resin, so i cut a piece of this to give me the circular wooden part. Then found a nylon washer in my plumbing bits and bobs to use as the window surround. Styrene sheet was cut up and grooved to simulate wooden grain for the roof shingles, and the whole thing was glued onto a piece of foam. Here is the window I made with the reproduced resin piece on the right
I then made a temporary mould of the circular shaped window front, with some reusable silicone ( I think its called Oyrumaru, or Blue Stuff) and made a copy of that in milliput. From there I shaped it to suit a square shaped dormer window, and repeated the process with styrene roof shingles. From there i made a silicone mould of the whole window and reproduced again in resin
Then i set about converting the remaining parts of Hobbit Hole front. I cut out the part of the front with the missing window detail at convenient locations and added my new chimney
A bit of balsa to simulate new beams and some new plasticard was used to get it close to a 90 degree break front. The thin piece of chipboard was used at the back to give the converted front some strength
Here you can see what had been cut out, I think from length its almost as long as the original casting
Construction of the rest of the build was a copy of my last one with 3mm MDF for the base, and some foam for the hillside. Interior filler was applied to all the foam areas and to blend in any gaps, with sand over the top and PVA to seal everything in...
With the part i cut out, i incorporated this into one of the windows. I cut it at the window ledge then glued it to one of my dormer windows..
With some plasticard at the back for support...
and glued into the hillside...
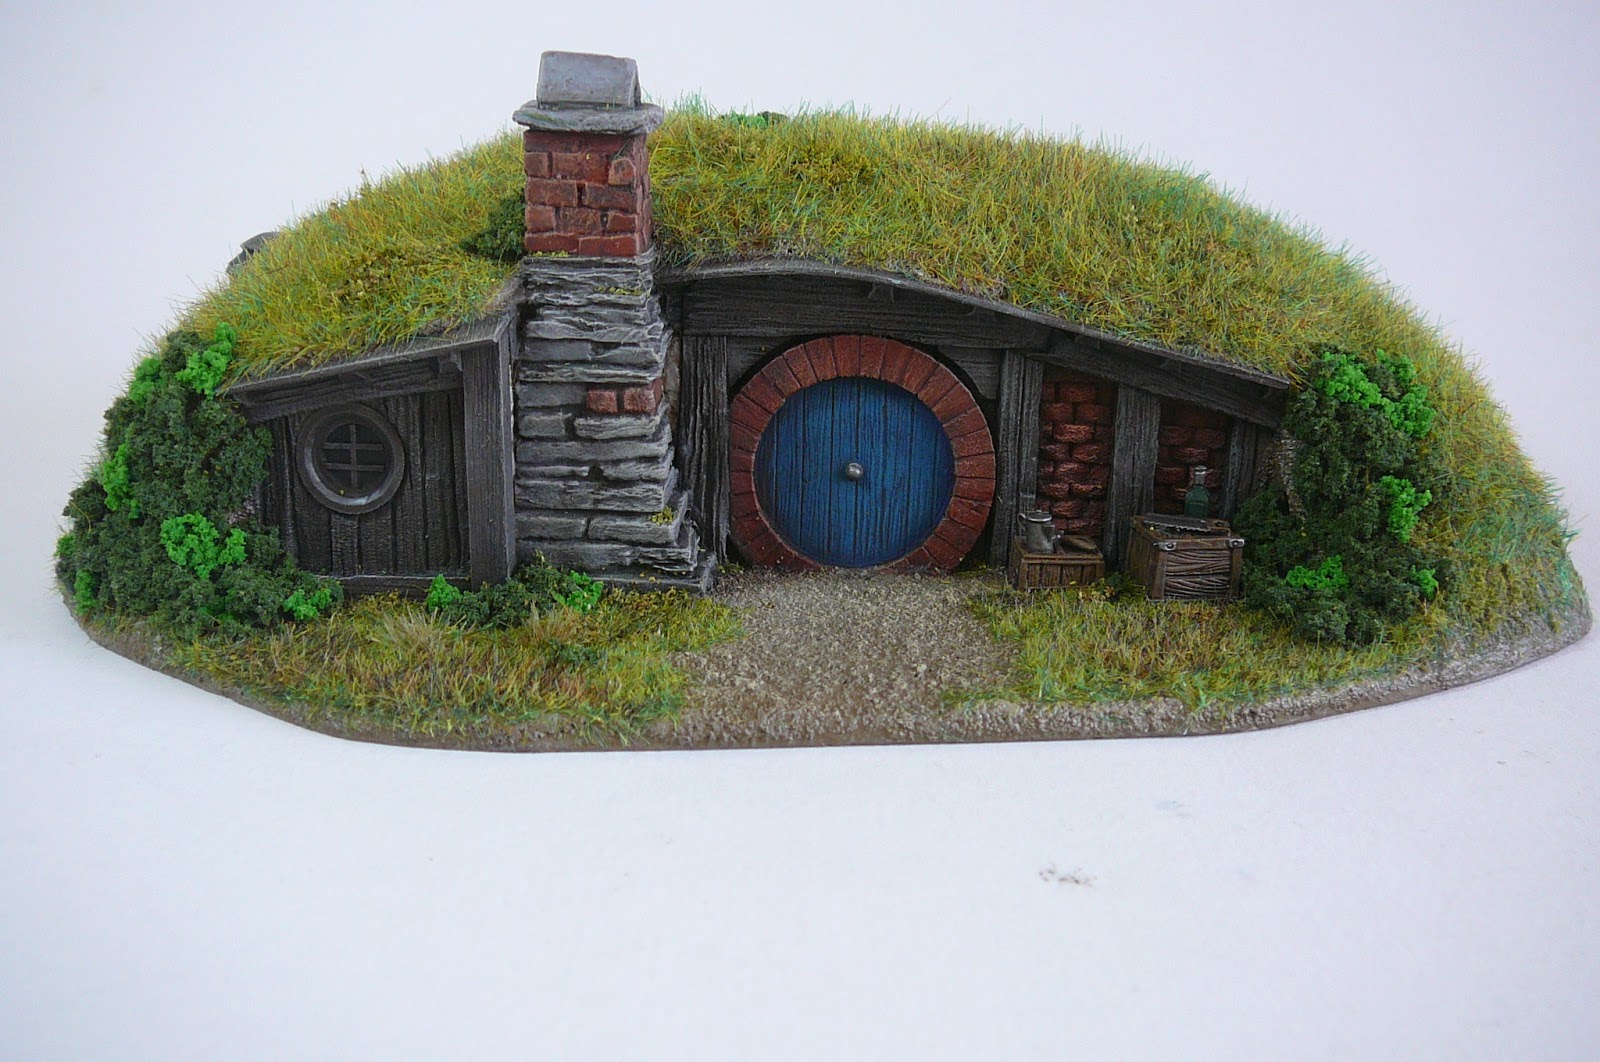
Here is the finished piece, painted flocked and sealed for durability. The boxes in front are resin pieces from my own designs, the bottle, tools and coffee pot are metal pieces I've picked up on the internet somewhere. As with my other Hobbit Hole I've used various types and length of flock and static grass to simulate a natural appearance...
This will go up in my
Ebay shop very soon. The previous Hobbit Hole sold in a matter of hours, so I'm wondering if this will be as popular...