Here's a couple more Hobbit Holes i made from Forgeworld resin fronts. The doors are very slightly changed , but the conversions mostly consisted of breaking up the flat fronts with a chimney or right angled wall. I really enjoyed making these, i think are probably my favourites of all the hobbit holes I've made to date. I hope you like the pictures...
Showing posts with label hobbit. Show all posts
Wednesday, 2 September 2020
Thursday, 16 July 2020
28mm Forgeworld Hobbit Hole commisison - part two
Here are the finished photos of this commission, build and painting as per my others. Now in the hands of a happy owner, I hope you like the photos....
Sunday, 28 June 2020
28mm Forgeworld Hobbit hole commission - part one
I had been asked to make two Hobbit Holes using the Forgeworld fronts. This was way back before the lockdown, so its taken a while for Forgeworld to get back to work and enable me to buy the components. The customer had seen some of my earlier builds and wanted me to make them look lived in and to split the front so they were not flat. So here are a few pictures of the builds....
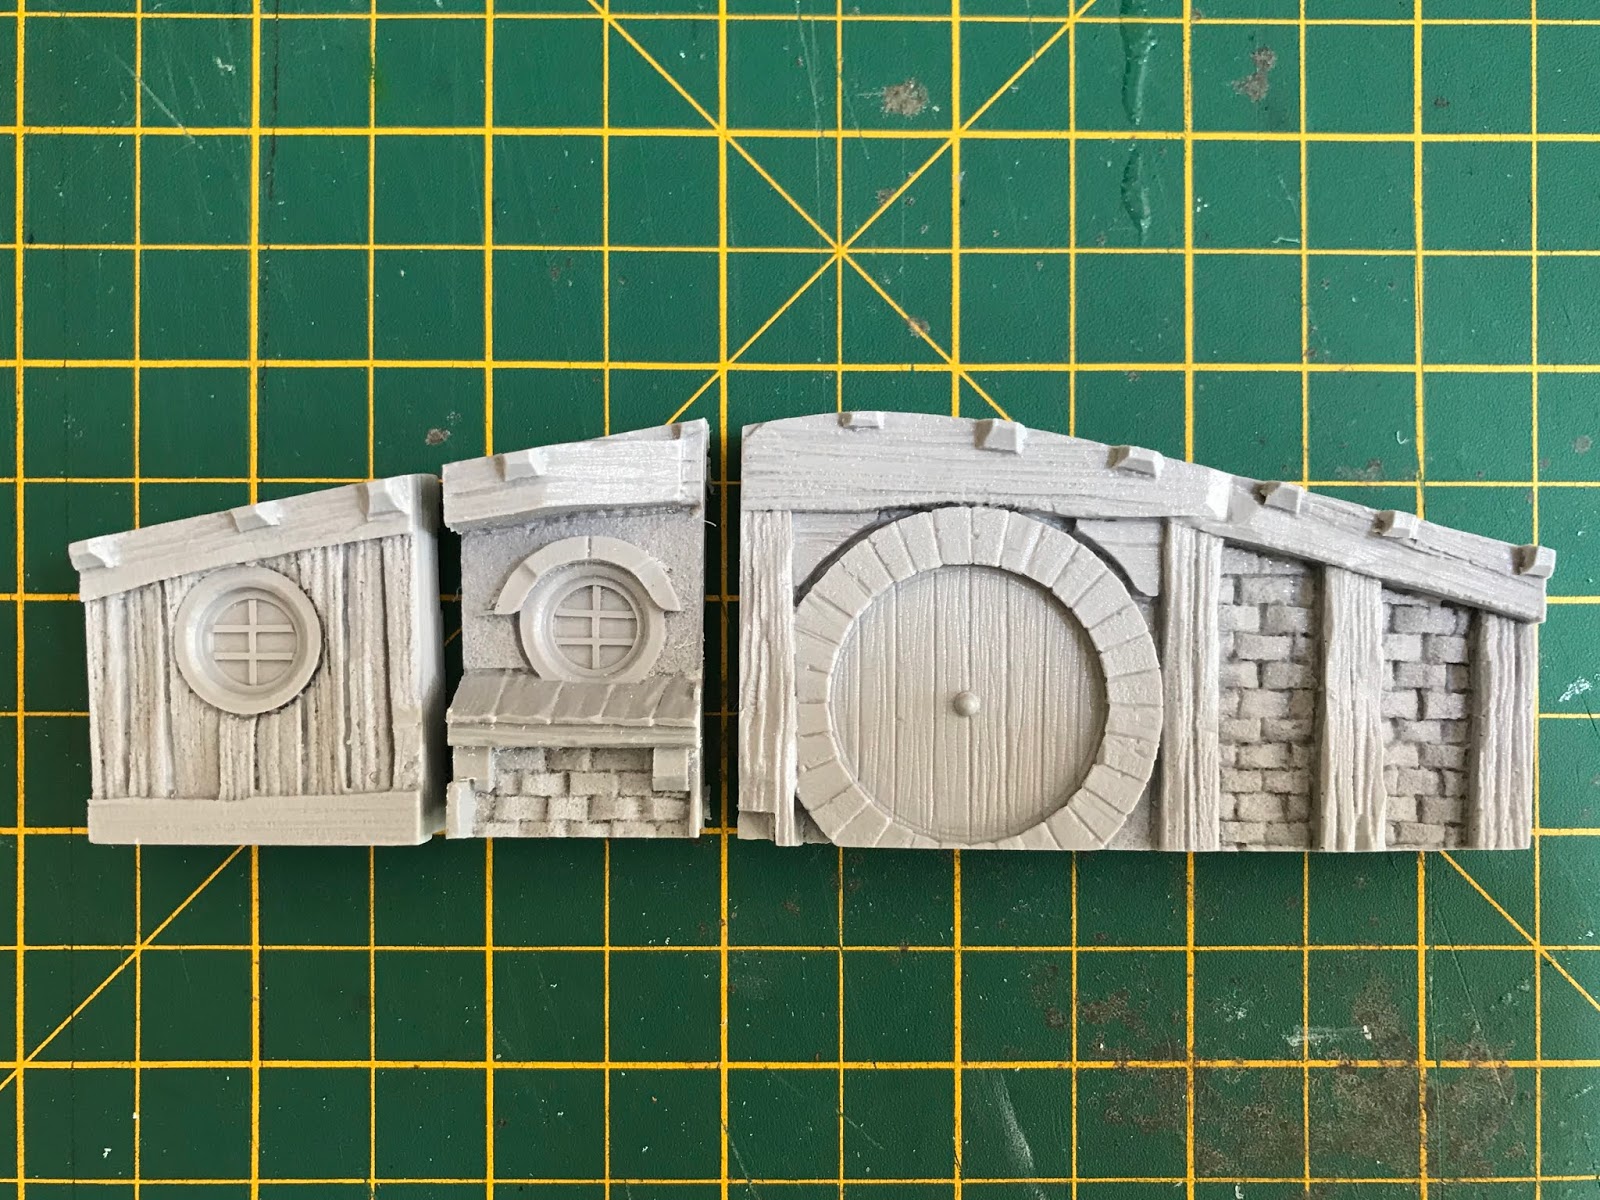
The parts as them come from Forgeworld . Decent quality castings with little or no air bubbles, and nicely packaged
The first variant of resin front..
The second variant..
The first build was similar to one of my earlier ones, so i set about cutting the front to make space for one of my resin cast chimneys
Some Wills plasticard and Balsa gave me this...
Then some Wills planking cut into small strips was used for the roof shingles....
Here is the front primed and ready for the next part of the process (the chimney top is to be added during the next part of the build)...
The second build used the other variant of the resin fronts, this time splitting the front by incorporating a log store. Two vertical cuts at stategic places with a bit of balsa and Wills plasticard gave me this...
Different angle with some of my resin logs (taken out to make painting easier)
To add a bit of variety this time i used thick card for the shingles, here it is primed and ready for the next stage of the build....
I hope you like the pictures, part two will follow shortly...
Monday, 23 December 2019
28mm Hobbit Hole Collection, Scouring of the Shire
As a final post on this wave of Hobbit Holes/Halfling Homes, I've decided to put together a final pictures montage of all the pieces I made. I found this to be a very enjoyable project and very pleased with how they all turned out. Some were put together straight out of the box (so to speak!) and some were converted in some way. I may do some more in the future. I hope you enjoy the pictures and in the mean time I wish everyone a Happy Christmas...
Wednesday, 4 December 2019
Thomarillion final Halfling Home, Scouring of the Shire
This is the final Halfling home I've put together. I didn't take any WIP pictures as i kind of whizzed through this. The front is heavily converted, the fence and tree are from Citadel, the chimney is left over from a Warlord kit, and the little white pot is from a plastic dolls house furniture kit. You may recognise the resin barrels and logs from my own designs. I hope you like the pictures....
This will go up in my Ebay shop very soon
Tuesday, 26 November 2019
Thomarillion second converted halfling home, Scouring of the Shire
Following on from my last post, i set about heavily converting a Thomarillion Hermitage resin front. Here is the resin casting as it comes in the post, compared to a Forge World Hobbit Hole front...
I didn't take a lot of in progress shots on these build, i don't know why, i think i just got carried away with myself. Here is the finished front after a bit of cutting and mating of parts. You can recognise the door section from the original part, and one of the windows I cut out. I used a bit of Wills planking for the curved roof, and some Wills lime wash walling for the left hand wall. The bottom row of bricks also comes from a Will sheet, with a thin strip of balsa to separate the brick and lime wash wall. The left hand roof section i intended on a straight angled roof to give it some variety from all the curves. This section of roof on the left is a bit of Wills feather edge boarding
Top down view gives an idea of the variety i was trying to achieve. The left hand return wall is again a piece of Wills lime wash walling
Here is the Halfling home ready for painting...
And here is the finished piece...
This will go up in my Ebay shop very soon...
Subscribe to:
Posts (Atom)